
 My favorite bookbinding method that I found was the "Secret Belgian Binding" which actually yields a book with a spine, instead of just front and back covers. I decided to step it up a little bit and make a book that had wooden covers, since I've been itching to use my scrollsaw recently. I drew up this pattern in Illustrator and then let started picking out wood. I had a scrap piece of 1/4" baltic birch plywood. It sounds fancy but its really just the stuff I bought at Hobby Lobby awhile ago. Yay Hobby Lobby!
Anyway, I printed the pattern [black outlines, not this colored version] and cut out the pieces. I cut the holes out and then cut all the shapes out separately. After cutting all the pieces, I stained the pieces to get different colors. I had a bunch of stain on hand from when I was testing out colors for my furniture, so I actually had the shades that I wanted. The L was stained with some Minwax "Golden Oak", the leaves were done in the same Behr stain that I used for Lauren's Coasters and the Hearts were done in some kind of Minwax maple stain.
By the way, this is a perfect example- ALWAYS test your stain colors before using them. The maple stain was supposed to be a nice warm golden color...as you can see in these photos, it was very pink on pine. For this project, the pink worked out. For anything else though, that pink would have been disastrous
Once the stain dried I glued the pieces into the holes. For this project, the little gaps didn't matter so I didn't bother filling them in. I drilled holes in the covers and then polyurethaned them and the spine. I followed the Belgian Book Binding instructions from here. I used 5 sheets cream colored paper folded in half per signature and I also added some green cardstock inside both covers. I used waxed linen string for the binding.
If you're curious, I attached the green cardstock to the cover using spray adhesive and I made the pages look a little homemade by running a razor along the edges of the paper.
And now for some pictures:


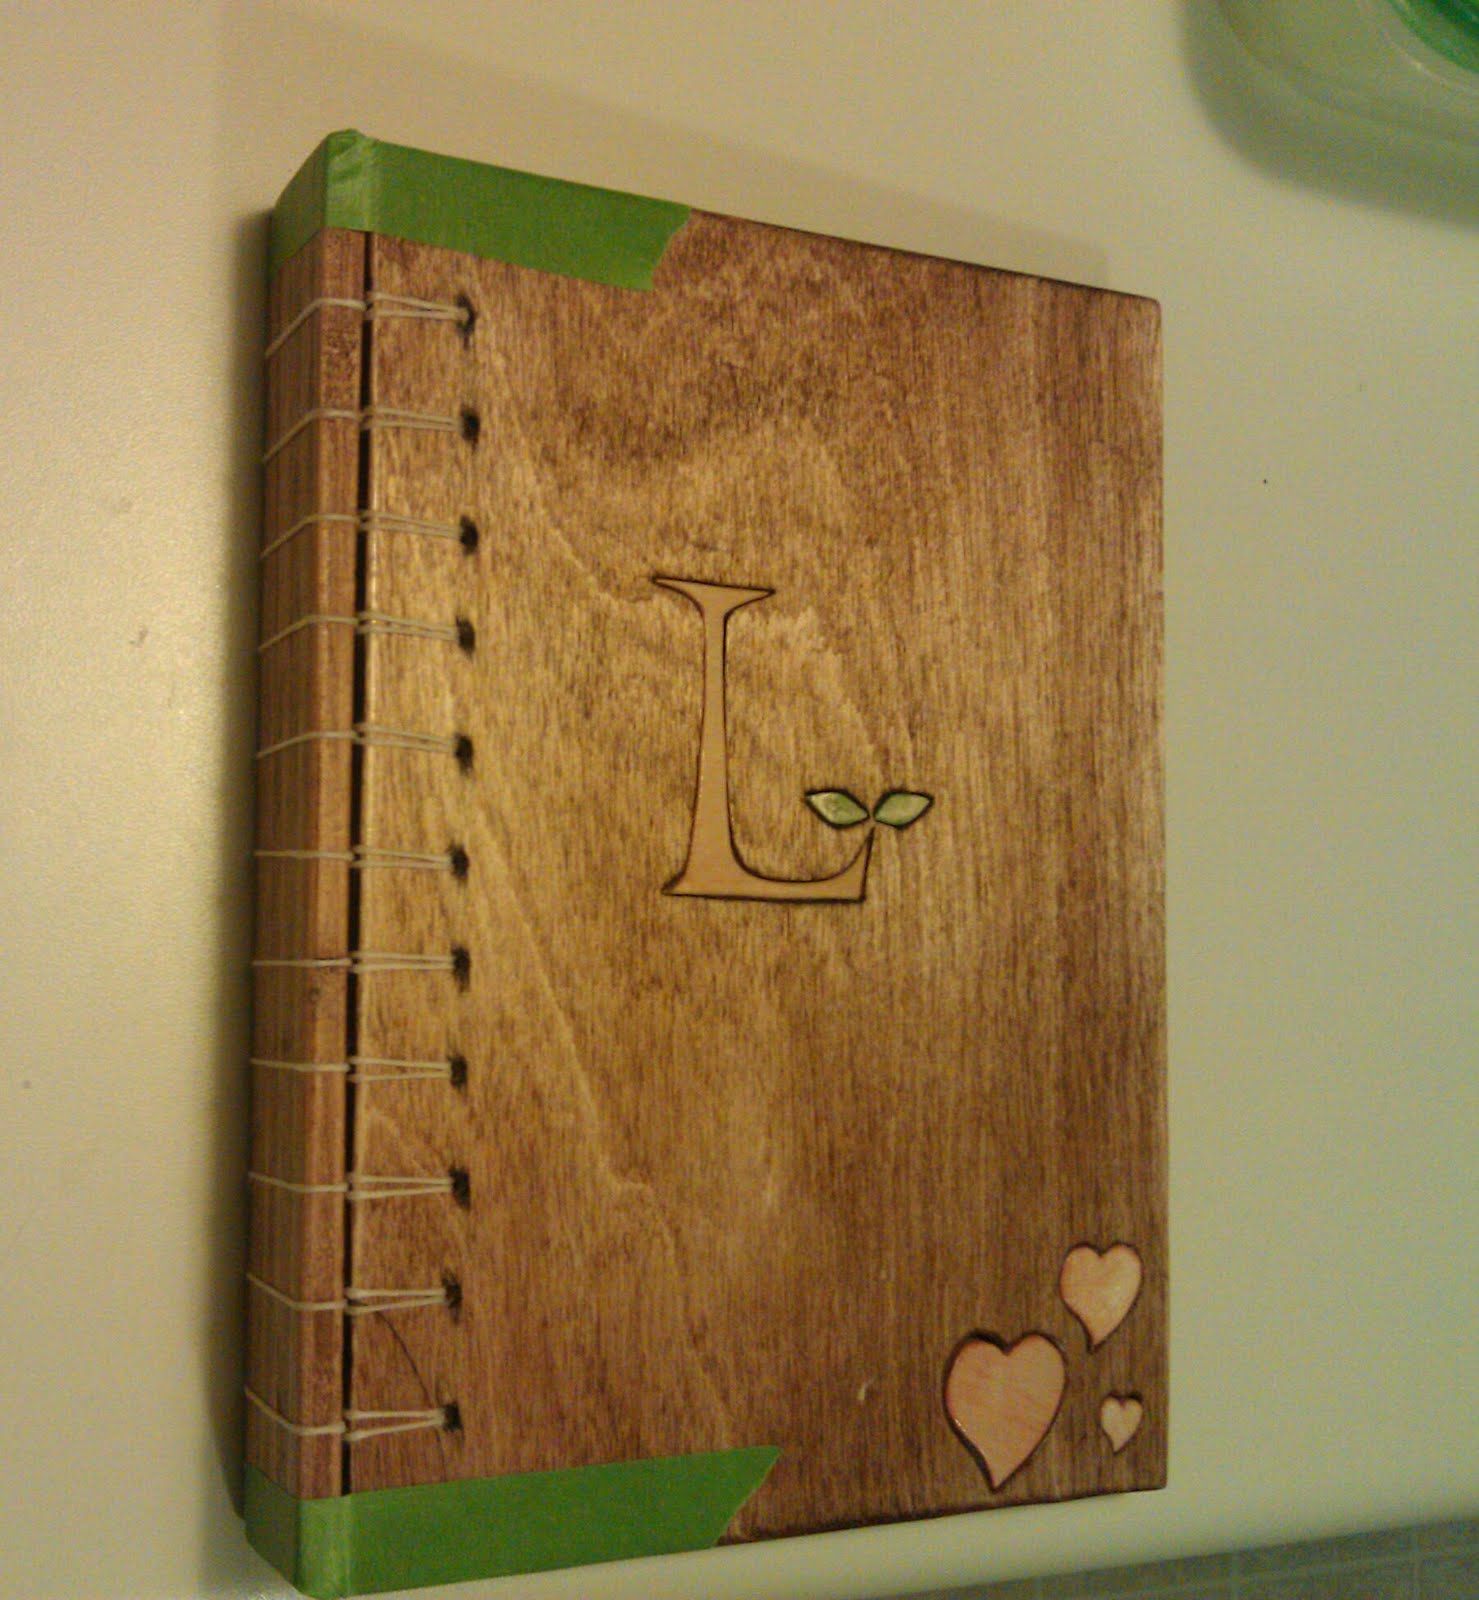
I'm really happy with how this turned out and Lauren seemed to enjoy it. Now I'm going to head to bed because I've got terrible headache. Hope everyone has a good weekend!


